How to Sew a Chair Pad?
Are your dining chairs feeling a bit hard on the backside? Or maybe you’re looking to add a splash of color to your kitchen seating? Whatever your reason, learning how to sew a chair pad is a fun and practical DIY project that can transform your space. In this guide, we’ll walk you through the process step-by-step, from choosing materials to adding those final touches.
Quick Answer
To sew a chair pad, measure your chair seat, cut fabric to size, sew the pieces together leaving an opening, stuff the pad, and close the opening. Optional steps include adding ties or buttons for a tufted look.
My Chair Pad Sewing Journey
Before we dive into the nitty-gritty, let me share a quick story. Last summer, I decided to spruce up my patio furniture. The metal chairs were stylish but sitting on them for more than 10 minutes was like perching on a block of ice. So, I grabbed some outdoor fabric, dusted off my sewing machine, and got to work. The result? Not only did I save a bundle compared to buying ready-made pads, but I also ended up with custom cushions that perfectly matched my outdoor decor. Trust me, if I can do it, so can you!
Getting Started: Materials and Tools
Before you start stitching, let’s make sure you have everything you need. Here’s your shopping list:
- Fabric (about 1/2 yard per chair pad)
- Polyester stuffing or foam
- Thread that matches your fabric
- Scissors (fabric scissors if you have them)
- Sewing machine
- Hand sewing needle
- Measuring tape or ruler
- Fabric marker or chalk
- Straight pins
- Optional: Velcro, buttons, or ribbon for ties
Pro tip: When picking your fabric, think about how you’ll use the chair pads. For dining chairs, choose a fabric that’s easy to clean. For outdoor use, go for weather-resistant materials.
Step-by-Step Guide to Sewing Your Chair Pad

1. Measure Twice, Cut Once
First things first, we need to know how big to make our chair pad. Grab your measuring tape and let’s get to work:
- Measure the width and length of your chair seat.
- Add 2 inches to both measurements. This extra gives you room for seams and some padding puffiness.
- Using these new measurements, cut two pieces of fabric. These will be the top and bottom of your chair pad.
For example, if your chair seat is 16 inches wide and 14 inches deep, you’ll cut two pieces of fabric that are 18 inches by 16 inches.
2. Optional: Prepare Ties
If you want to secure your chair pad to the chair, ties are the way to go. Here’s how to make them:
- Cut four strips of fabric, each about 20 inches long and 2 inches wide.
- Fold each strip in half lengthwise, right sides together.
- Sew along the long edge and one short edge, leaving a 1/4 inch seam allowance.
- Turn the strips right side out (a safety pin can help with this).
- Press the ties flat and sew the open ends shut.
3. Sew the Main Pieces Together
Now for the main event – sewing your chair pad:
- Place your two large fabric pieces right sides together.
- If you made ties, pin them at the corners between the two layers of fabric, with the ends sticking out.
- Pin around the edges of the fabric.
- Starting about 3 inches from one corner, sew around the edges with a 1/2 inch seam allowance. Stop about 3 inches from where you started, leaving an opening for turning and stuffing.
- Clip the corners at an angle, being careful not to cut your stitches. This reduces bulk when you turn it right side out.
4. Turn and Stuff
We’re in the home stretch now:
- Turn your chair pad right side out through the opening you left.
- Use a pencil or chopstick to push out the corners so they’re nice and sharp.
- Start stuffing! Use polyester filling or foam, pushing it into the corners first.
- Keep adding stuffing until your pad reaches your desired thickness.
5. Close It Up
Last step – let’s close that opening:
- Fold the raw edges of the opening inward, matching the sewn seam.
- Pin the opening closed.
- Using a needle and thread, hand sew the opening shut with a ladder stitch (also called an invisible stitch).
Adding Some Flair: Optional Extras
Buttons for a Tufted Look
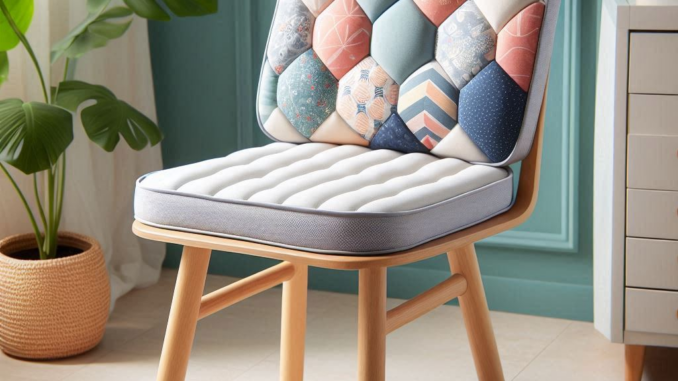
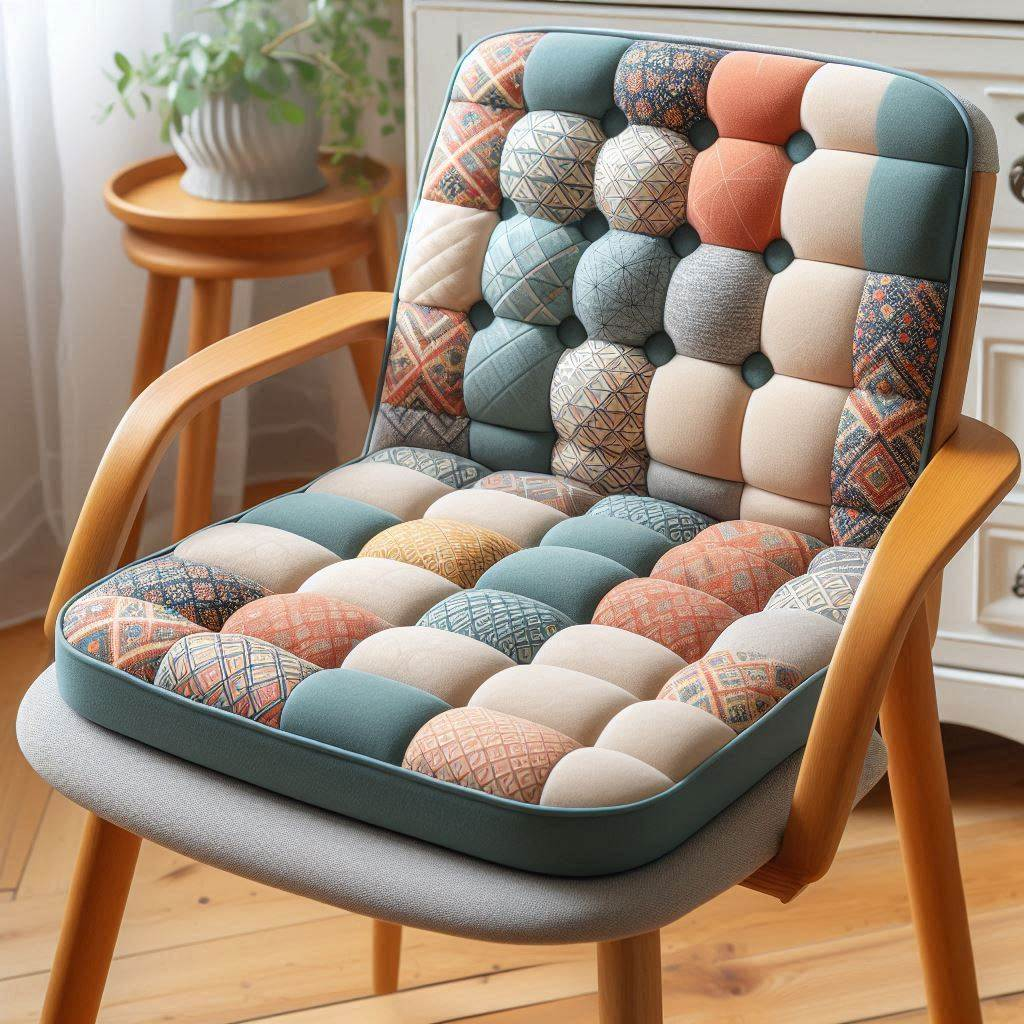
Want to give your chair pad a more polished, tufted appearance? Here’s how:
- Before stuffing, mark where you want your buttons on both sides of the pad.
- After stuffing, use a long needle and strong thread to sew through the entire pad, from one marked spot to its match on the other side.
- Thread your buttons and pull tight to create the tufted effect.
- Secure the thread and repeat for each set of marks.
Piping for a Professional Finish
Piping can give your chair pad a store-bought look. Here’s a quick rundown:
- Make or buy piping that coordinates with your fabric.
- When sewing your two main pieces together, sandwich the piping between the layers, with the cord part of the piping facing inward.
- Sew close to the cord, using a zipper foot if you have one.
Troubleshooting Common Issues
Even seasoned sewers run into snags sometimes. Here are some common problems and how to fix them:
- Uneven stuffing: If your pad looks lumpy, try breaking up the stuffing into smaller pieces before inserting it.
- Puckered fabric: This usually happens if your tension is too tight. Adjust your machine’s tension and test on scrap fabric first.
- Broken needle: If you’re sewing through thick layers, use a heavier gauge needle designed for denim or upholstery fabric.
Care and Maintenance Tips
To keep your new chair pads looking great:
- Follow the care instructions for your chosen fabric.
- For removable covers, wash in cold water and air dry to prevent shrinkage.
- Spot clean non-removable pads with a damp cloth and mild detergent.
- Fluff and rotate your pads regularly to maintain their shape.
Wrapping Up: You Did It!
Congratulations! You’ve just created a custom chair pad that’s uniquely yours. Not only have you added comfort to your seating, but you’ve also picked up a valuable DIY skill. Remember, practice makes perfect, so don’t worry if your first attempt isn’t flawless. Each pad you make will be better than the last.
Why stop at chair pads? Now that you’ve got the basics down, you could try your hand at throw pillows, pet beds, or even simple curtains. The world of home sewing is at your fingertips!
Your Next Steps
Ready to keep going? Here are some ideas to build on what you’ve learned:
- Experiment with different fabric patterns and textures.
- Try making chair pads in different shapes, like rounds for bar stools.
- Share photos of your creations on social media to inspire others.
- Host a sewing party and teach your friends how to make their own chair pads.
Remember, every stitch is a step toward making your house feel more like home. Happy sewing, and enjoy your comfy new chair pads!


Leave a Reply