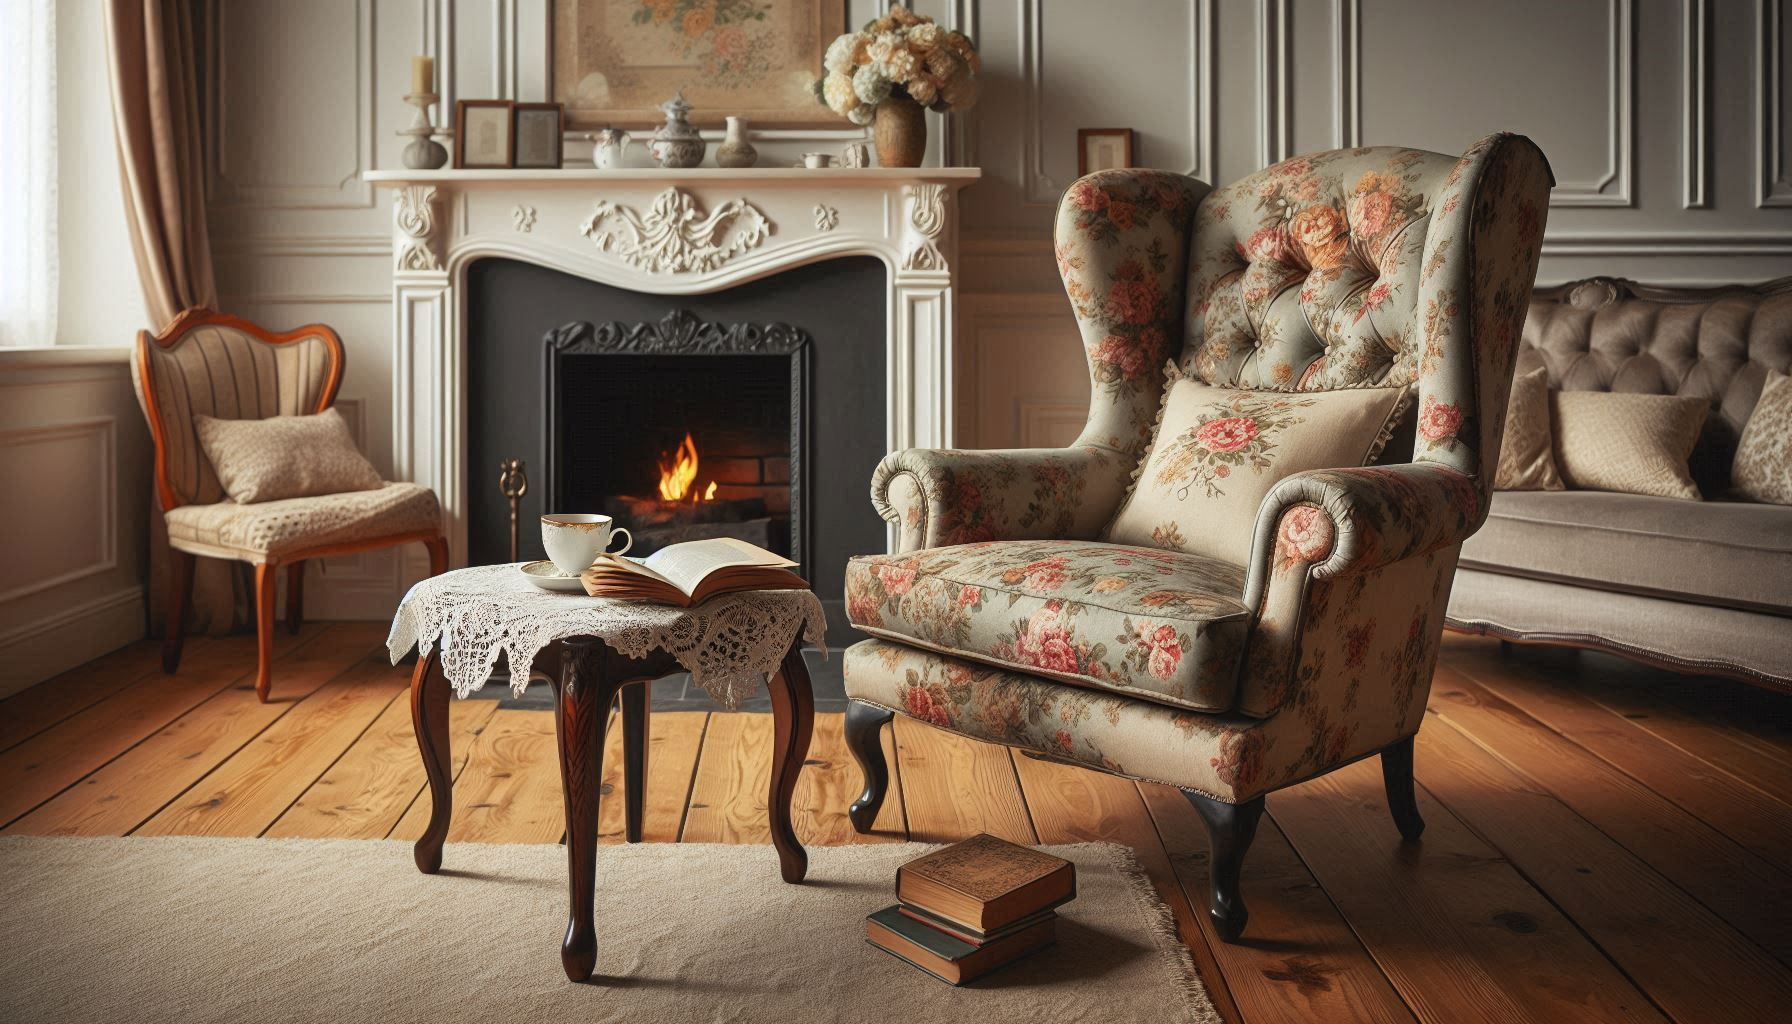
How to Reupholster a Wingback Chair?
Ever looked at that old wingback chair in the corner and thought about giving it a makeover? You’re in the right place! Reupholstering a wingback chair can breathe new life into a beloved piece of furniture, transforming it to match your current decor or restoring its original beauty. Whether you’re a DIY enthusiast or just starting out, this guide will walk you through the process step-by-step.
Quick Answer
To reupholster a wingback chair: remove old fabric, repair the frame if needed, cut new fabric using old pieces as templates, attach new fabric starting from the inside back, and add finishing touches like buttons or piping.
My Wingback Chair Revival Story

Before we dive in, let me share a quick story. Last summer, I inherited my grandma’s old wingback chair. It was a family treasure, but boy, was it worn out! The fabric was faded, and the stuffing was poking through in places. I knew I had to save it, but I had never reupholstered anything before. After some research and a lot of determination, I decided to give it a shot. The process wasn’t always smooth sailing (there may have been a minor staple gun incident), but the end result was amazing. Now, that chair is the star of my living room, and every time I sit in it, I feel connected to my grandma. If I can do it, so can you!
What You’ll Need
Before you start, gather these materials and tools:
- New upholstery fabric (about 6-7 yards for a standard wingback)
- Staple gun and lots of staples
- Upholstery tacks
- Heavy-duty thread and needle
- Sharp scissors
- Screwdriver set
- Pliers
- Seam ripper
- Measuring tape
- Foam padding (if needed)
- Batting
- Spray adhesive
- Fabric glue
Step-by-Step Guide
1. Set Up Your Workspace
First things first, clear out a good-sized area. You’ll need room to move around the chair and lay out fabric. Spread a drop cloth or old sheet on the floor to catch any mess. Make sure you have good lighting – you’ll thank yourself later when you’re trying to line up patterns or spot loose threads.
2. Strip Down the Chair
Now comes the fun part – demolition! Carefully remove all the old fabric from the chair. Here’s how:
- Start at the bottom and work your way up
- Use your seam ripper to undo any sewn parts
- Pull out staples with pliers
- Keep track of the order you remove pieces – it’ll help when you put the new fabric on
- Pro tip: Take pictures as you go. They’ll be handy reference points later
As you remove each piece, lay it flat and label it. These will be your patterns for cutting the new fabric.
3. Give the Frame Some TLC
With the chair stripped bare, it’s time to play doctor:
- Check for loose or broken parts
- Tighten any wobbly screws
- Replace damaged wood if needed
- If the padding is flat or lumpy, now’s the time to replace it
If you’re adding new foam, cut it to size and use spray adhesive to stick it in place. Then cover it with a layer of batting for that extra-comfy feel.
4. Cut Your New Fabric
Here’s where those old fabric pieces come in handy:
- Lay out your new fabric on a flat surface
- Place the old pieces on top as patterns
- Trace around them, leaving about 2 inches extra all around
- Cut out your new pieces
- Important: If your fabric has a pattern, make sure it lines up across pieces
5. Start Upholstering
Now for the main event! Start with the inside back of the chair:
- Center the fabric on the chair back
- Pull it tight and staple it along the top edge
- Work your way down, smoothing and stapling
- When you reach the bottom, fold the extra fabric under for a clean edge
Repeat this process for the seat, arms, and outside back. For the wings, you might need to cut small notches in the fabric to help it curve smoothly.
6. Add the Finishing Touches
You’re in the home stretch! Here’s how to polish off your masterpiece:
- Trim any excess fabric
- Cover staples with decorative trim or piping
- Reattach any buttons or tufting
- Use fabric glue to secure any loose edges
Troubleshooting Tips
Even pros run into snags sometimes. Here are some common issues and how to fix them:
- Wrinkly fabric: Steam it or use a hair dryer to shrink it slightly
- Misaligned patterns: Unpick and re-staple, taking more time to line things up
- Fabric too tight or loose: Remove staples from that section and try again, aiming for Goldilocks-level “just right” tension
The Payoff

Stepping back and seeing your newly reupholstered wingback chair is an awesome feeling. Not only have you saved money compared to buying new, but you’ve also got a one-of-a-kind piece that perfectly matches your style. Plus, you’ve learned a valuable skill!
Wrapping Up
Reupholstering a wingback chair is a big project, but it’s totally doable with some patience and elbow grease. Take your time, don’t be afraid to redo sections if they’re not quite right, and enjoy the process. Before you know it, you’ll be sitting pretty in your “new” chair, feeling proud of what you’ve accomplished.
Next Steps
Ready to tackle your chair? Here’s what to do next:
- Choose and buy your fabric
- Gather all your tools
- Set aside a weekend for the project
- Take lots of “before” pictures – you’ll want to show off the transformation!
Happy reupholstering, and don’t forget to share your before-and-after pics online. Who knows? You might inspire someone else to give it a try!


Leave a Reply