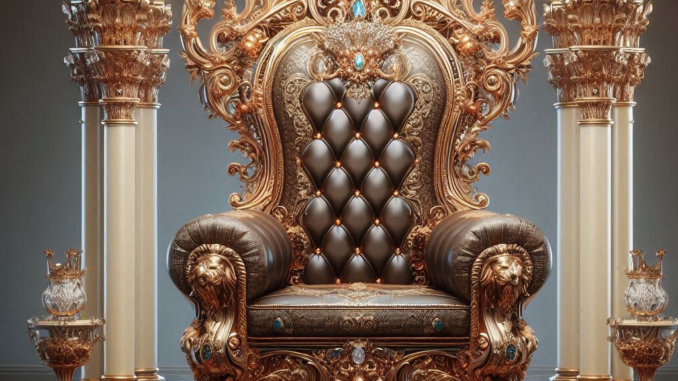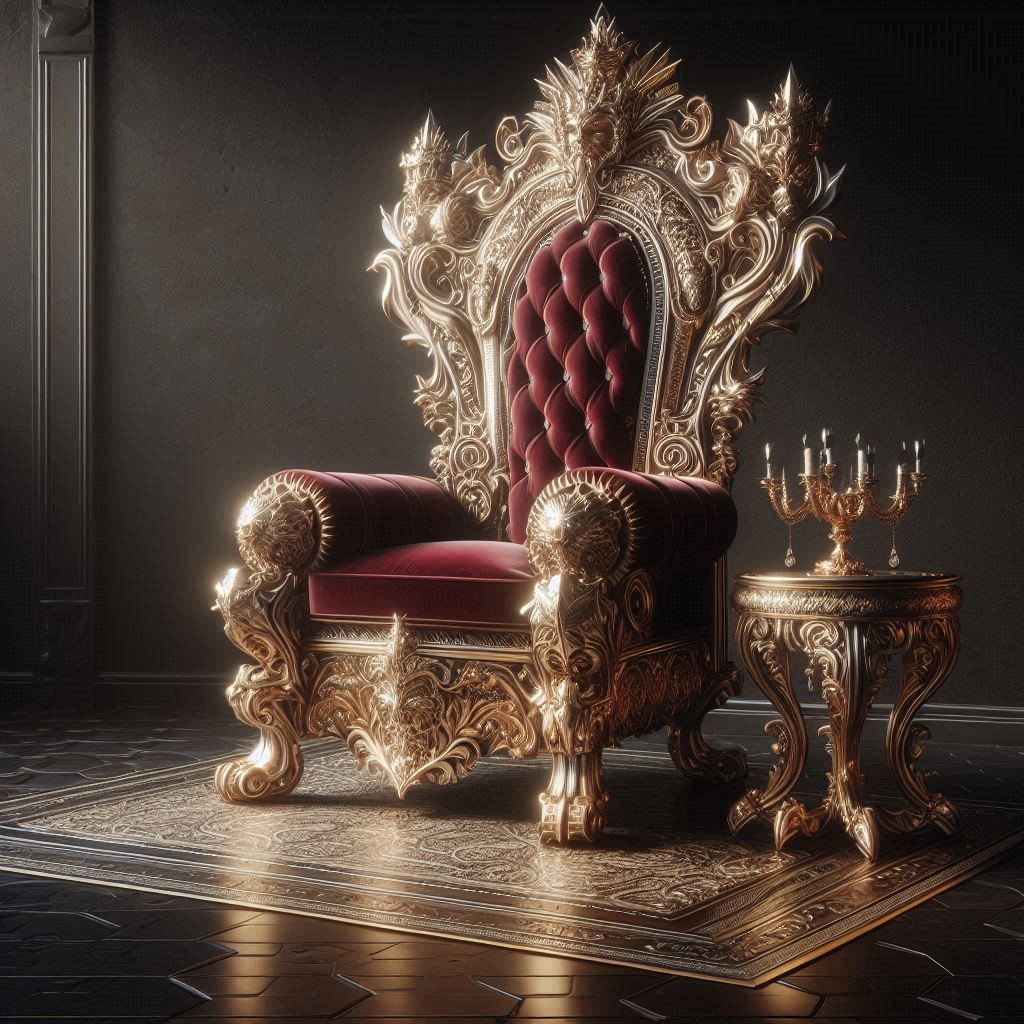
How to Make a Throne Chair?
Have you ever dreamed of sitting on a royal throne? Well, you’re in luck! Today, we’re going to dive into the exciting world of DIY throne chairs. Whether you’re planning a themed party, sprucing up your home decor, or just looking for a fun weekend project, making your own throne chair can be a rewarding experience. Let’s get started!
Quick Answer
To make a throne chair, start with a sturdy high-backed chair, sand and paint it, add foam padding and luxurious upholstery, then decorate with trimmings for a regal look. The process involves basic woodworking, painting, and upholstery skills.
My Throne Chair Adventure
Before we jump into the nitty-gritty, let me share a quick story. Last summer, my daughter was obsessed with princesses. For her birthday, I decided to surprise her with a homemade throne. I’d never tackled anything like this before, and let me tell you, it was quite the adventure! There were moments of frustration (who knew staple guns could be so tricky?), but seeing her face light up when she saw her very own throne made it all worthwhile. Now, let’s help you create your own royal seat!
Gathering Your Royal Materials

First things first, you’ll need to round up some supplies. Here’s what you’ll need:
- A sturdy, high-backed chair (wooden works best)
- Sandpaper (various grits)
- Primer and paint
- Foam padding
- Fancy fabric (think velvet or brocade)
- Staple gun and staples
- Decorative trimmings (gold braids, rhinestones, etc.)
- Wood glue and screws
- Basic tools (saw, drill, scissors, etc.)
Don’t worry if you don’t have everything right away. You can always pick up items as you go along.
Step 1: Choosing Your Throne Base
The first step in your royal journey is selecting the right chair. Look for something with a high back – the higher, the more throne-like! Wooden chairs are ideal because they’re easy to work with and sturdy. Check out thrift stores or yard sales; you might score a great deal on an old dining chair that’s perfect for transformation.
Chair Selection Tips:
- Opt for solid construction – wobbly chairs won’t do for royalty!
- High backs are a must for that regal look
- Wide seats provide more comfort and space for decorations
- Armrests add to the majestic appearance (but aren’t absolutely necessary)
Step 2: Preparing Your Royal Seat
Now that you’ve got your chair, it’s time to get it ready for its makeover. This step is all about creating a smooth canvas for your masterpiece.
- Inspect the chair: Check for any loose parts or damage. Tighten screws and repair as needed.
- Sand it down: Use sandpaper to smooth out any rough spots. Start with a coarse grit and work your way to finer grits for a silky-smooth finish.
- Clean thoroughly: Wipe away all dust and debris with a damp cloth. Let it dry completely.
Remember, the better you prep, the better your final throne will look!
Step 3: Painting Your Throne
Here’s where your chair starts to look less like ordinary furniture and more like a seat fit for royalty. Choose colors that scream “royal” – gold, silver, deep purples, or rich reds are popular choices.
- Apply primer: This helps the paint stick better and last longer. Let it dry completely.
- Paint time: Apply your chosen color(s) in thin, even coats. Don’t rush – it’s better to do multiple thin coats than one thick, drippy one.
- Let it dry: Patience is key! Make sure each coat is completely dry before adding the next.
For an extra fancy touch, try using metallic paint or adding some painted designs once the base color is dry.
Step 4: Adding Cushioning Fit for Royalty
A true throne needs to be comfortable, right? This is where foam padding comes in handy.
- Measure twice, cut once: Carefully measure the seat and back of your chair.
- Cut the foam: Use your measurements to cut foam padding to fit. Don’t worry if it’s not perfect – you can always trim it down.
- Attach the foam: Use spray adhesive or a staple gun to secure the foam to the chair. Make sure it’s evenly distributed for maximum comfort.
Pro tip: For extra luxury, add a layer of batting over the foam before you upholster. It’ll give your throne an extra-plush feel!
Step 5: Upholstering Your Royal Seat
Now it’s time to cover that foam with some luxurious fabric. This step can be a bit tricky, but take your time and you’ll do great!
- Choose your fabric: Velvet, brocade, or any rich-looking fabric works well. Make sure you have enough to cover the entire chair with some extra for mistakes.
- Cut the fabric: Leave plenty of excess to wrap around edges and secure underneath.
- Start stapling: Begin at the center of each section and work your way out, pulling the fabric taut as you go.
- Tackle tricky spots: Corners and curves can be challenging. Take it slow, and don’t be afraid to remove staples and try again if needed.
Remember, smooth and wrinkle-free is the goal here. Your future royal bottom will thank you!
Step 6: Adding the Royal Bling
This is where your throne really starts to shine – literally! It’s time to add those finishing touches that’ll make your chair truly majestic.
- Decorative trims: Attach gold braids or fancy ribbons along the edges of the chair.
- Jewels and rhinestones: Glue on some sparkly gems for that extra royal touch.
- Tassels or fringe: Add these along the bottom of the seat for a luxurious look.
- Crown topper: For the ultimate throne, consider attaching a small crown to the top of the backrest.
Remember, there’s no such thing as “too much” when it comes to throne decorations. Go wild!
Step 7: Ensuring Your Throne Stands the Test of Time
Now that your throne is looking fabulous, let’s make sure it stays that way.
- Check all connections: Make sure all screws are tight and any glued parts are secure.
- Reinforce if needed: If the chair feels at all wobbly, add some extra support beams underneath.
- Apply a protective coat: Use a clear sealant on painted areas to protect against chips and scratches.
- Create care instructions: Write down how to clean and maintain your throne for future reference.
Taking these extra steps will ensure your royal creation lasts for years to come!
Frequently Asked Royal Questions
How long does it take to make a throne chair?
The time it takes can vary, but expect to spend about a weekend on this project. Some steps, like painting and letting glue dry, require waiting time, so it’s best not to rush.
Can I make a throne chair if I’m not very crafty?
Absolutely! While some basic DIY skills are helpful, this project is doable for beginners. Just take your time, follow the steps carefully, and don’t be afraid to ask for help if you need it.
How much does it cost to make a throne chair?
Costs can vary widely depending on the materials you choose and what you already have on hand. Budget anywhere from $50 to $200. Thrifting and upcycling can help keep costs down.
Can I make a throne chair for outdoor use?
You can, but you’ll need to use weather-resistant materials and take extra steps to protect it from the elements. Consider using outdoor fabric and applying a waterproof sealant.
Wrapping Up Your Royal Project
Congratulations! You’ve just created your very own throne chair. It’s time to sit back, relax, and bask in the glory of your royal achievement. Here’s a quick recap of what we’ve covered:
- Choosing and preparing your chair
- Painting for that regal look
- Adding comfortable padding
- Upholstering with luxurious fabric
- Decorating with royal flair
- Ensuring durability and longevity
Remember, the beauty of DIY projects like this is that each throne is unique. Your creativity and personal touch are what make it special. So don’t worry if it’s not perfect – it’s yours, and that’s what matters most.
Your Next Royal Steps
Now that you’re a throne-making expert, why stop here? Consider these ideas for your next projects:
- Create matching “royal” footstools or side tables
- Design a whole set of throne chairs for a truly regal dining experience
- Use your new skills to upcycle other furniture pieces
Whatever you choose to do next, remember to have fun with it. After all, that’s what DIY is all about!
So, are you ready to start your throne-making adventure? Gather your supplies, roll up your sleeves, and get ready to create something truly majestic. Your royal seat awaits!


Leave a Reply