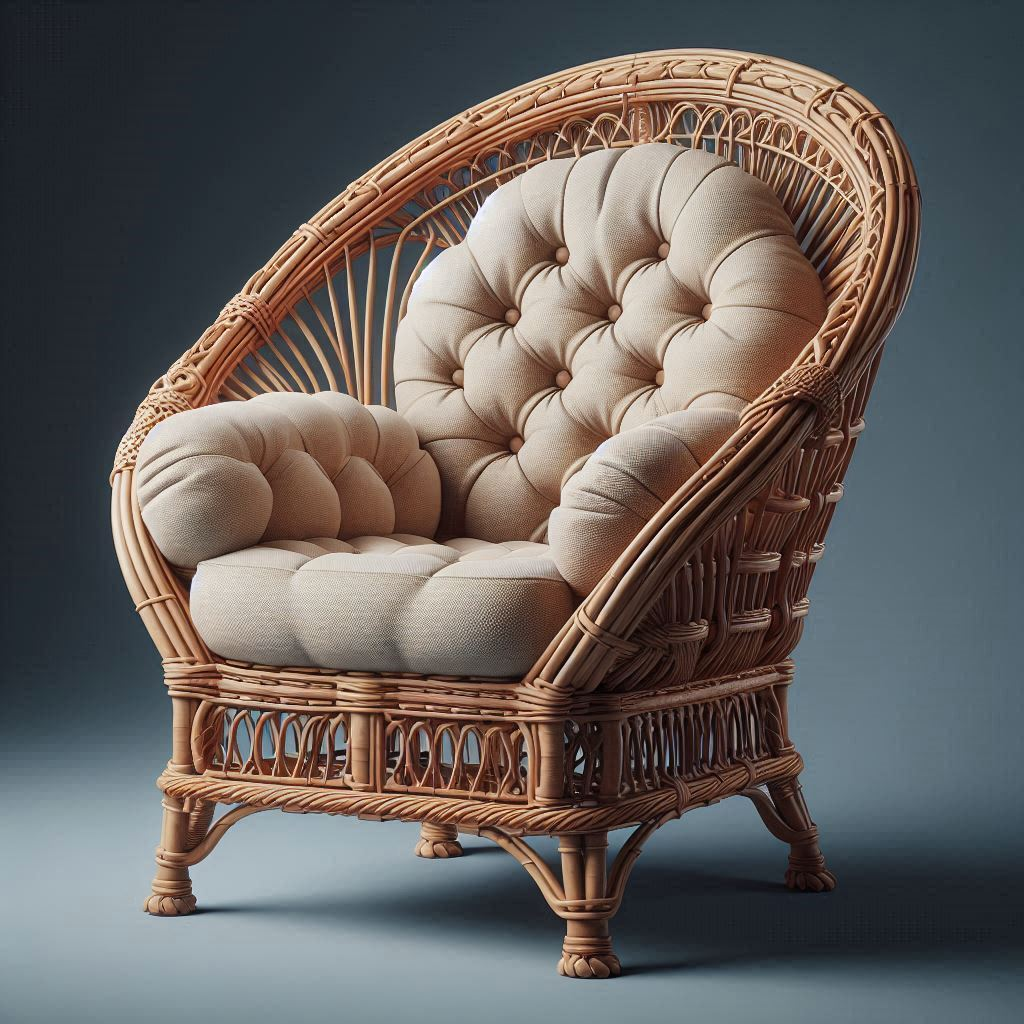
How to Fix Wicker Chair Seat?
Wicker chairs are a beautiful addition to any home, but they can get worn out over time. If your favorite wicker chair is looking a bit sad, don’t worry! You can fix that seat and make it look brand new again. Let’s dive into how you can breathe new life into your wicker chair seat.
Quick Answer
To fix a wicker chair seat, remove damaged strands, soak and weave in new wicker strands, secure with adhesive, trim excess, and finish with a protective coating. Regular cleaning and maintenance will keep your chair looking great for years to come.
My Wicker Chair Rescue Story
Before we get into the nitty-gritty, let me share a quick story. Last summer, I found an old wicker chair at a yard sale. It was love at first sight, but the seat was a mess. Broken strands everywhere! I was determined to fix it up. After a few tries (and some funny mishaps), I finally got it right. Now, that chair is the star of my porch, and I feel pretty proud every time I sit in it. If I can do it, you definitely can too!
What You’ll Need
First things first, let’s gather our tools and materials:
- New wicker strands (try to match the color and size of the old ones)
- Strong glue (wood glue or epoxy work great)
- Needle-nose pliers
- Sharp scissors
- A bowl of warm water
- A soft brush or vacuum cleaner
- Soap and water for cleaning
- Fine sandpaper
- A clear protective spray (optional, but recommended)
Step-by-Step Guide to Fixing Your Wicker Chair Seat

1. Check Out the Damage
Take a good look at your chair. Where are the broken or loose strands? Are there any weak spots? Knowing what you’re dealing with will help you plan your repair.
2. Clean It Up
Before you start fixing, give your chair a good clean. Use your brush or vacuum to get rid of dust and dirt. If it’s really grimy, a gentle wipe with soap and water can help. Just make sure it’s totally dry before you start repairs.
3. Take Out the Bad Stuff
Using your pliers, carefully pull out any broken or super loose strands. Be gentle – you don’t want to damage the good parts!
4. Get Your New Strands Ready
Soak your new wicker strands in warm water for about 30 minutes. This makes them bendy and easier to work with. While they’re soaking, you can start planning your weave pattern.
5. Start Weaving
This is where the fun begins! Take a soaked strand and start weaving it into the chair seat. Follow the pattern that’s already there – usually, it’s an over-under pattern. Use your pliers to help push the strands through tight spots.
6. Glue and Secure
Once you’ve woven in a strand, put a tiny bit of glue on the ends to keep it in place. Press it down and let it dry. This might take a while, so be patient!
7. Trim and Tidy
After the glue is dry, use your scissors to trim any extra bits of wicker sticking out. You want it to look neat and tidy.
8. Sand and Smooth
If there are any rough spots, gently sand them down with your fine sandpaper. This will make your chair more comfy to sit on and prevent snags.
9. Protect Your Work
To make your repair last longer, you can spray the whole chair with a clear protective coating. This helps guard against moisture and wear.
Tips for Success
- Take your time. Rushing can lead to mistakes.
- Keep the pattern consistent. It’ll look better in the end.
- Work in small sections. It’s less overwhelming that way.
- If you mess up, it’s okay. You can always pull out the strand and try again.
Keeping Your Wicker Chair in Top Shape

Now that you’ve fixed up your chair, you’ll want to keep it looking great. Here are some easy ways to do that:
- Regular cleaning: A quick brush or vacuum every week can prevent dirt buildup.
- Avoid sun damage: Too much direct sunlight can make wicker brittle. If possible, keep it in a shaded spot.
- Watch out for moisture: Wicker and water don’t mix well. If your chair gets wet, dry it off right away.
- Yearly check-ups: Once a year, give your chair a thorough look-over. Catching small issues early can prevent bigger problems later.
When to Call in the Pros
Sometimes, a wicker chair might be too far gone for a DIY fix. If your chair has major structural damage, or if you’re just not comfortable tackling the repair yourself, it’s okay to ask for help. A professional furniture restorer can work wonders!
The Joy of DIY Repair
Fixing your own wicker chair seat is more than just a money-saver. It’s a chance to learn a new skill, bring new life to an old piece of furniture, and feel a sense of accomplishment. Plus, every time you sit in that chair, you’ll remember the work you put into it. That’s a pretty cool feeling!
Wrapping It Up
So there you have it – your guide to fixing a wicker chair seat. It might take some time and patience, but the results are totally worth it. You’ll have a comfy, good-looking chair and the satisfaction of knowing you fixed it yourself. Why not give it a try? Your wicker chair (and your wallet) will thank you!
Next Steps
Ready to tackle your wicker chair repair? Start by gathering your materials and setting aside a weekend afternoon. Take before and after pictures – you’ll be amazed at the difference! And remember, if you run into any trouble, there are plenty of online forums and videos that can help. Happy repairing!


Leave a Reply